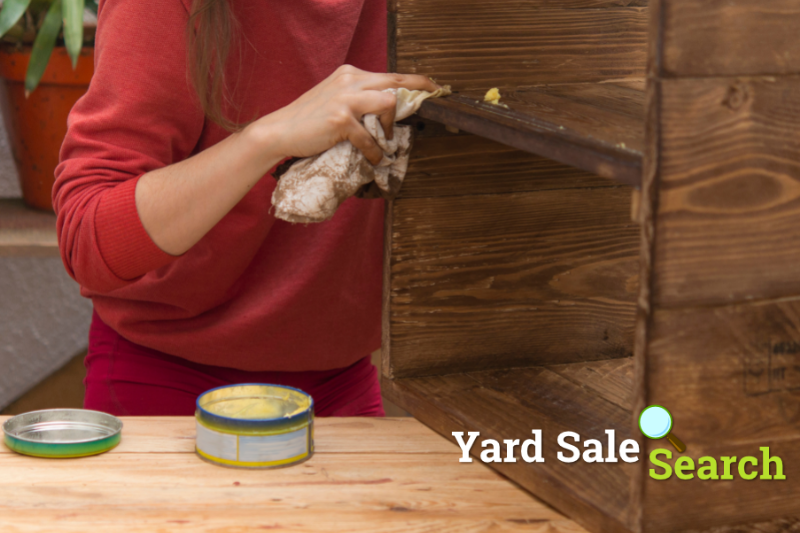
Whether it’s a new yard sale pickup or just a piece you have laying around, staining a dresser is a great way to bring some life into the piece and into the entire room. Staining isn’t a difficult process, and just about everyone can handle it, but it is important to know the steps before you start! Otherwise, you might damage your dresser, your floors, and most importantly, your self-esteem!
If you are planning on embarking on your first successful staining journey yourself, however, fear not! We’ve broken the process down into three easy steps that’ll be a breeze to follow.
Step 1: Make a Choice
Unless this is strictly a learning experience, you probably aren’t just staining to stain. Consider the room your dresser will be going in, and what that room needs. If it’s a small room that needs to be opened up, consider a lighter and brighter color. If it’s a big room that needs some character and warmth, consider a dark and rich color. If you’re dead set on a specific color just because it’s your favorite, that’s a choice too!
Another choice to make is whether you want your stain to be oil-based or water-based. Experts and enthusiasts will know that there can be a lot that goes into this decision, but color and cleanup are the most important factors for many people. Oil-based stains are going to offer more contrast in the coloring, but will also be generally lighter than what water-based stains can offer. If you want that beautiful contrast between dark and light in the wood, oil might be for you. If you want a brilliant dark color that looks almost like paint, water might be your choice. Cleanup is different, too. Oil will need mineral based solutions for cleanup, and water comes up with just soap and water.
Step 2: The Prep Work
One thing’s for sure: staining is messy. No matter how careful you are, there’s probably going to be mess and cleanup involved. Don’t wear your nicest dress or shirt for the job, and consider using gloves too!
You only want to stain the wood, which means removing any hardware like knobs and handles. At this point you might want to consider doing any necessary repairs. A new stain will look great, but it isn’t going to fix a broken drawer. Apply some diluted TSP to the wood with a sponge or a spray bottle and wash down the wood. You’ll want to let these surfaces dry before proceeding.
Once the surfaces have dried, you’ll want to remove the old finish. This can be done with sandpaper or with a chemical stripper, depending on how much you want to sweat. If sanding, you can use a belt sander to move more quickly, but be careful not to sand too deeply and damage the wood. Make sure to sand with the grain, since sanding against the grain will show up later when staining. If using a chemical stripper, simply apply the stripper to the surface with a cloth and the finish will start to disappear. Wipe off the remaining stain with a sponge or with a scraper. Once the stain has been removed, wipe off the surface once again with a clean rag to make sure the wood is completely bare, and let the surface dry.
Finally, you’ll need to apply some sanding sealer (even if you went the chemical stripper route, it’s a good idea to sand down the surface lightly afterwards). This will help the stain absorb more evenly into the wood. Use a brush to apply to thin coats before letting the surface dry, give it another quick sanding, and wipe off with a clean rag.
Step 3: Stain and Finish
The tough part is over with. To apply the stain, use a brush or a cloth and make sure the stain is getting into the wood. How many coats you apply will depend on how dark you want the color to end up. Make sure to wipe off any excess stain, let dry completely, and sand lightly between each coat.
Once you’ve achieved the color you’re looking for and the surfaces have completely dried, it’s time to finish! Apply some sealer or varnish to the surface to make sure your dresser stays protected and shiny for ages, and viola! You’ve got yourself a stunning new color on a beautiful old dresser.
As you can see, staining a dresser is nothing but a few simple yet important steps. With a little bit of patience, elbow grease, and material, anyone can give an old dresser a dapper new stain in an afternoon! Excited to try this out yourself but you don’t have an old dresser on hand? Check to see if there are any yard sales near you!
Yard Sale Search is the most popular platform to post your yard sales and garage sales online. If you want to get maximum visibility on the web, then you need to post your yard sale with us.


